For Apple computers managed by Engineering IT Support with JAMF, the Webex client can be self-installed using the UF Self Service app store. This process does not require admin permissions to complete the install. You must be a Webex-enabled user for this application to be usable for making and receiving calls on your UF phone line.
Step 1: Open the UF Self Service app store

In the Finder, switch to Applications and find the Self Service application in the list. If you cannot find this application here, this means that your Apple laptop/desktop was not onboarded to JAMF, and this option is not available to you. Instead, since admin access is required to install this software, contact your local IT support office so they can both onboard the device to UF Endpoint Management tools and install the Webex client for you.
Note: The ‘UF Self Service’ application is only accessible when on campus networks. As a result, you may need to run the UF VPN if you are working from off-campus.
Step 2: Install Webex
Once the UF Self Service app store is opened, you’ll be able to browse all available applications. Find and click the Install button of the Cisco Webex application. Upon clicking Install, you’ll see a spinning icon as the application installs which will eventually change to an Open button when it is completed.
Step 3: Running Webex for the First Time
When you first open the Webex application, you will first have to agree to the Webex End User License Agreement. Afterwards, a Sign in / Sign up screen will be presented. Click the “Sign in” button to move to the next screen where you will basked to enter your email address. Enter your email address in the format of [Gatorlink Username]@ufl.edu. When done correctly, the UF login screen will appear where you can Gatorlink authenticate and answer the UF Duo multi-factor authentication prompt.
One last dialog prompt will appear, providing a notification about emergency calling and dialing. Simply click the “Ok” button. In some instances, you may also receive a request for admin credentials in order to modify firewall settings. These are unneeded for proper operation of the Webex client and can be cancelled if they do appear.
Step 4: Initial Configuration
Once you’ve installed Webex and successfully opened the application, you may want to familiarize yourself with some available options. You can open the Settings dialog either by clicking the Gear icon on the bottom left or clicking your Profile icon in the top left (and choosing Settings).
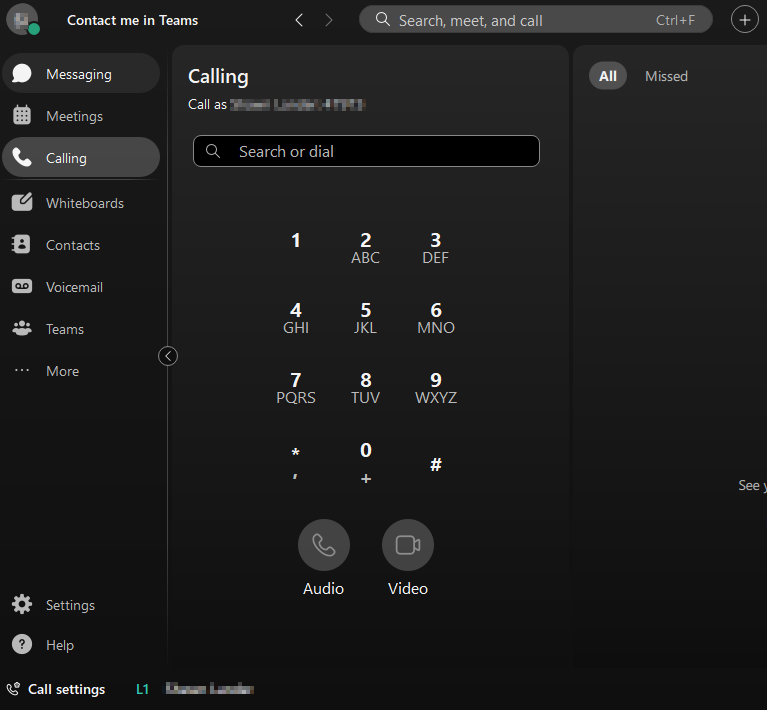
You can set your Availability and Status through your profile in the upper left. In the screenshot, the status is set to “Contact me in Teams,” which is also displayed in the application’s title bar next to the Profile icon.
Other settings you may want to configure:
- In the General tab, you may want to make sure that “Start Webex when my computer starts” is checked so it auto-runs when you log in. You can also set the “Landing Screen” to “Calling” so that when the application starts, you are in the phone interface.
- In the Audio tab, configure when and how the application rings when you receive a call. This can be important if you still have a physical handset at your desk.
- In the Calling tab, you may want to turn off “Answer calls with my video on.”
If you do make any configuration changes, make sure to click the Save button to close the Settings dialog.
Step 5: Setup Cisco Call app in Teams (optional)
Review UFIT’s Webex documentation page (Step Four) and Cisco Call for Microsoft Teams user guide for how to setup Webex for use within Teams. Remember, the Webex client will still need to be running even if you intend to use Teams as your phone client.
Step 6: Using Webex
Review UFIT’s Webex documentation page (Step Five) for information on how to use the Webex client for making and receiving calls.