When scheduling a meeting using Outlook, you can invite attendees, and book a room at the same time. The Scheduling Assistant makes it easy to find availability for the room but all, or most, attendees as well.
Note: Icons and screens between different versions of Outlook may look slightly different but the process is relatively the same. The screenshots below are from Office 365.
The room calendar!?!
Many Colleges and Departments have set up meeting spaces and other resources (checkout laptops, projectors, vehicles, etc) as resource calendars that can be scheduled using Outlook calendars. Exchange has a special resource calendar associated with rooms that makes it possible to specify a room as a meeting Location during your meeting request.
UF has a standard to designate all rooms with a display name starting with an @ symbol. You will need to know the display name for the room you want to book when creating the meeting invite.
Additionally, various rules and permissions determine what happens when booking a meeting room. Best case, your request to book a room will be accepted. In which case you will receive an email notification about the meeting being accepted. In the worst case, the meeting invite is rejected or referred to a delegate for review.
Create a new meeting
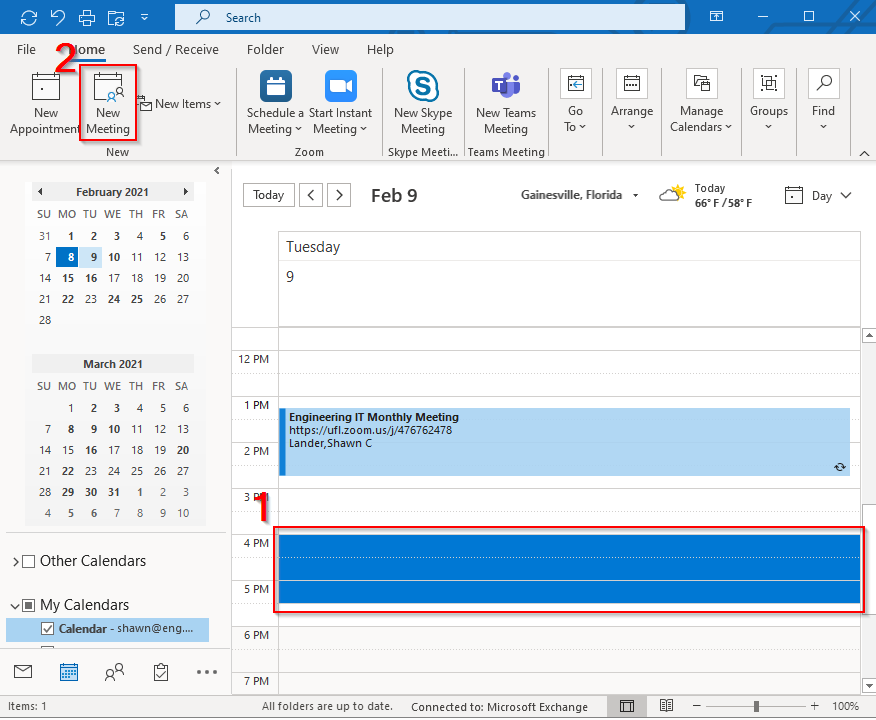
- Launch Outlook and open your Calendar
- Navigate to the date on which you propose to schedule the meeting and click on your preferred start time (#1).
- From the Home tab, on Outlook’s ribbon, click New Meeting (#2).
- In the new Untitled – Meeting window, change the End time and/or other settings as needed.
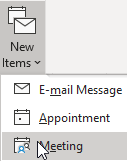
Alternatively, you can simply click on the New Item icon from the ribbon on any Outlook screen and choose Meeting to go directly to the Untitled – Meeting window.
Add a room
It is important to check a meeting room’s availability before completing the meeting request. By default, the room will show as Available or Busy as you select it. Otherwise, the room’s availability also shows in the Scheduling Assistant.
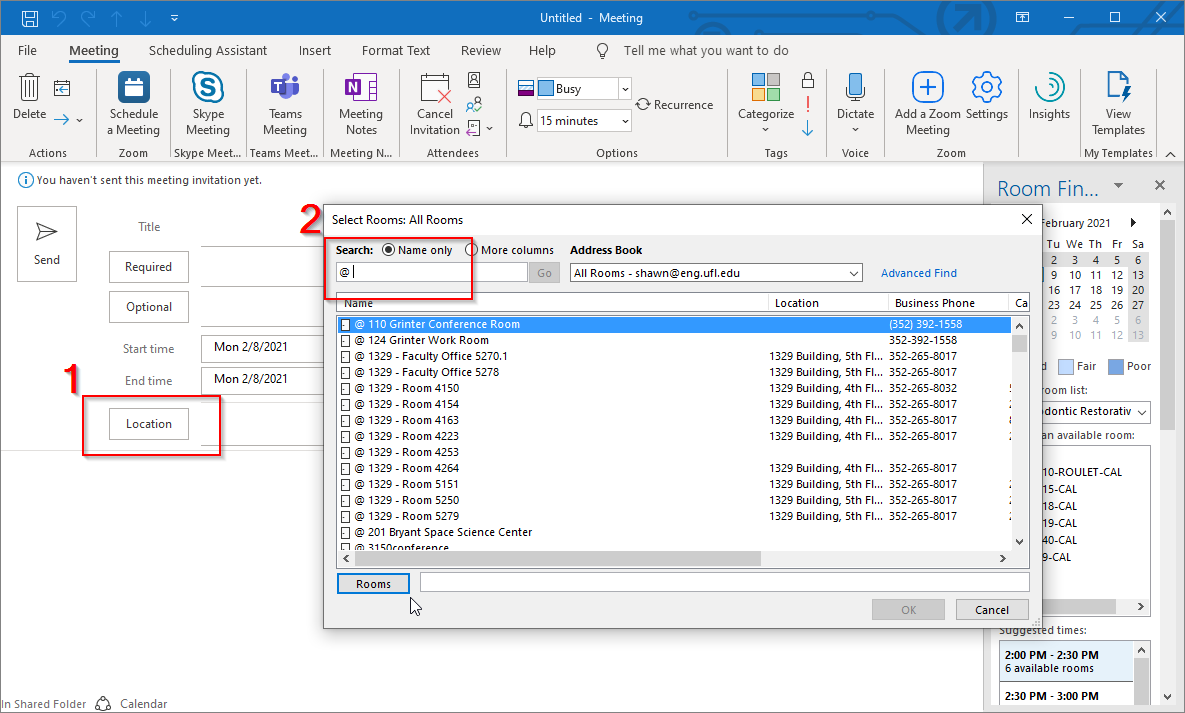
In most instances at UF the Room Finder is not useful. Instead, you can find all meeting rooms in the Global Address List by searching for “@ ” (#2 below) by clicking the Location button (#1 below). If you know the room’s display name you can simply begin typing it in the space provided next to the Location button.
Add meeting information
Once you have selected the date/time and added the room it is time to complete other components of the meeting:
- Populate the Subject field and add text to the body of the appointment. The more information about the meeting, such as a list of topics for discussion, will be a reminder to you and all attendees.
- Add any attachments as needed.
- Add Required and Optional attendees.
Send the Meeting Invitation
To arrange the meeting, invite the attendees and book the room, click the meeting’s Send button.
You must consider the room booking ‘Tentative’ until you receive an email response.
The response will come from the resource itself (the room) or from the resource delegate (the person(s) responsible for approving meeting requests).
- If the resource has sent a Tentative response, your request is pending approval.
- If the resource/resource delegate has Accepted, the room booking is considered confirmed.
- If the resource/resource delegate has Declined, the room booking is rejected.
If the booking is rejected, you must either reschedule your meeting, change the location to an available room, or remove it from your calendar by deleting it. Upon updating or canceling the meeting you will be asked by Outlook if you want to update all attendees by sending an update or cancellation message.