While much of the functionality of Outlook running on a Mac or on Windows is similar, a separate article for connecting to a shared Exchange mailbox is warranted. The screenshots in this article are taken from the latest version of Outlook for Mac at the time of this writing. However, these instructions will work for any specific version of Outlook that is part of Office for Mac 2016.
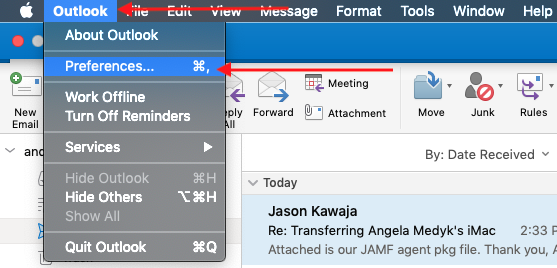
To begin, first make sure you have permission to the shared mailbox you are wanting to add to your Outlook. If you know which mailbox you need, contact Engineering IT Support via email, phone, or through the ticket form on this site. Once you’ve been added to the permissions of the mailbox, the next step will be to add the shared mailbox in your Outlook mail client. Along the menu bar at the top of the screen, click on the “Outlook” button between the Apple logo and the “File” button. Select “Preferences” from the drop-down menu.
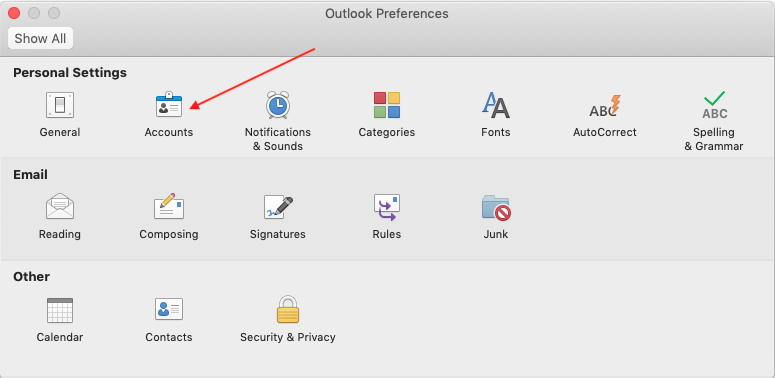
In the Outlook Preferences window. Click on Accounts.
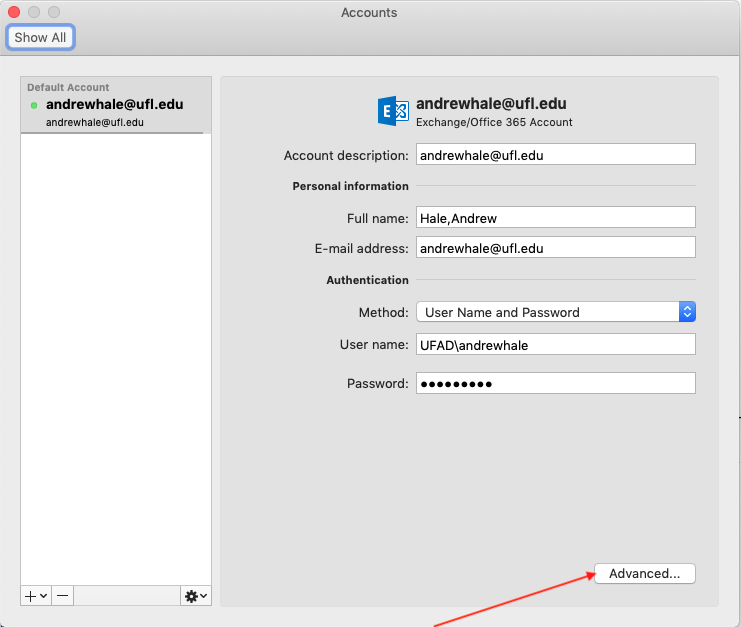
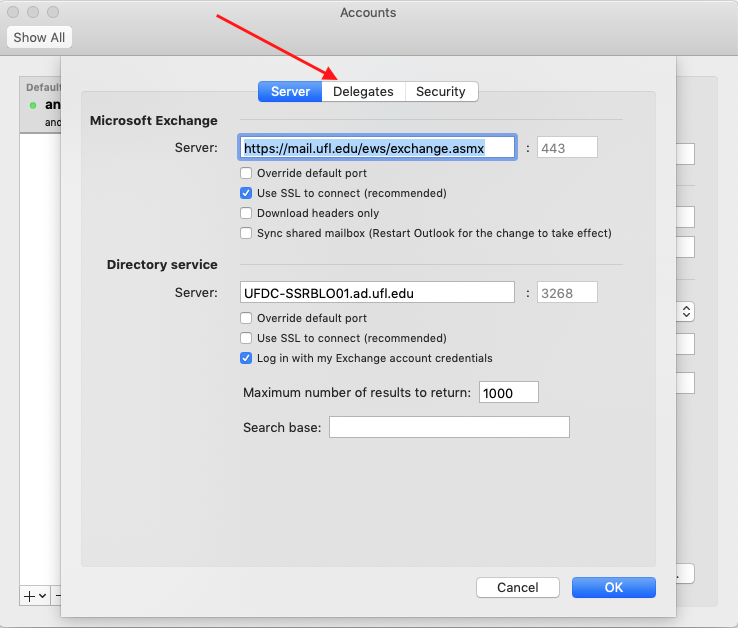
In the Advanced screen (still within the Accounts window) you will see three tabs at the top, “Server”, “Delegates”, and “Security”. Click on the “Delegates” tab.
In the Advanced screen (still within the Accounts window) you will see three tabs at the top, “Server”, “Delegates”, and “Security”. Click on the “Delegates” tab.
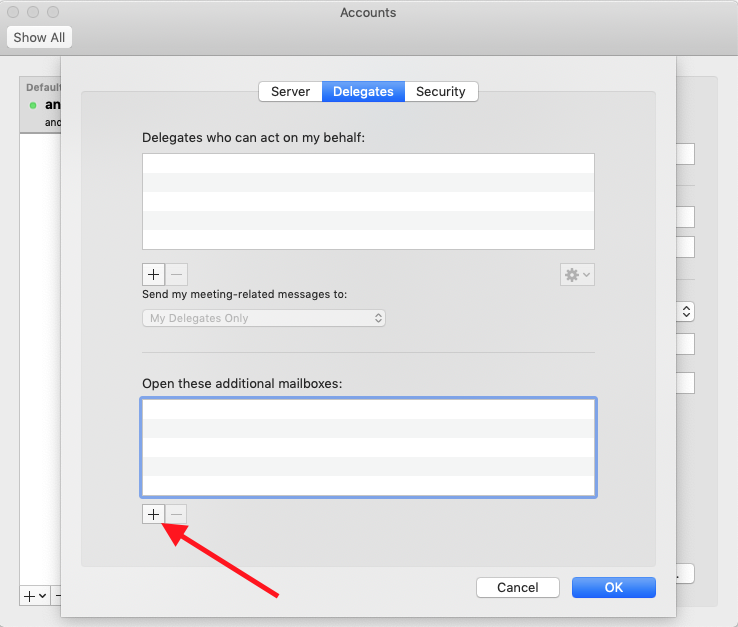
In the Delegates screen, you will see two boxes. You will need to add an entry to the “Open these additional mailboxes:” box by clicking the + sign underneath it.
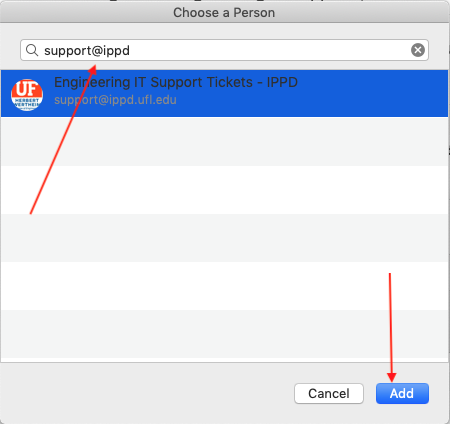
Clicking the + sign will open a smaller search window with the title “Choose a Person”. In the search box at the top, type the email of the shared mailbox you wish to add and click the blue “OK” button.
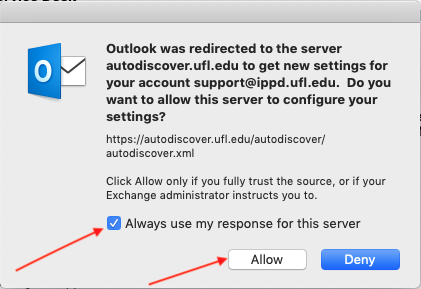
Back on the Advanced screen, Click the “OK” button in the lower right-hand corner. Back in the Accounts screen, just close the window. Upon closing the Accounts window, you may see a message stating “Outlook was redirected to the server autodiscover.ufl.edu for your account <shared mailbox address>”. Tick the box next to “Always use my response for this server” and then click the “Allow” button.
Your Shared Mailbox will now show up on the left with any other mailboxes you already have added. Congratulations, you are done!